
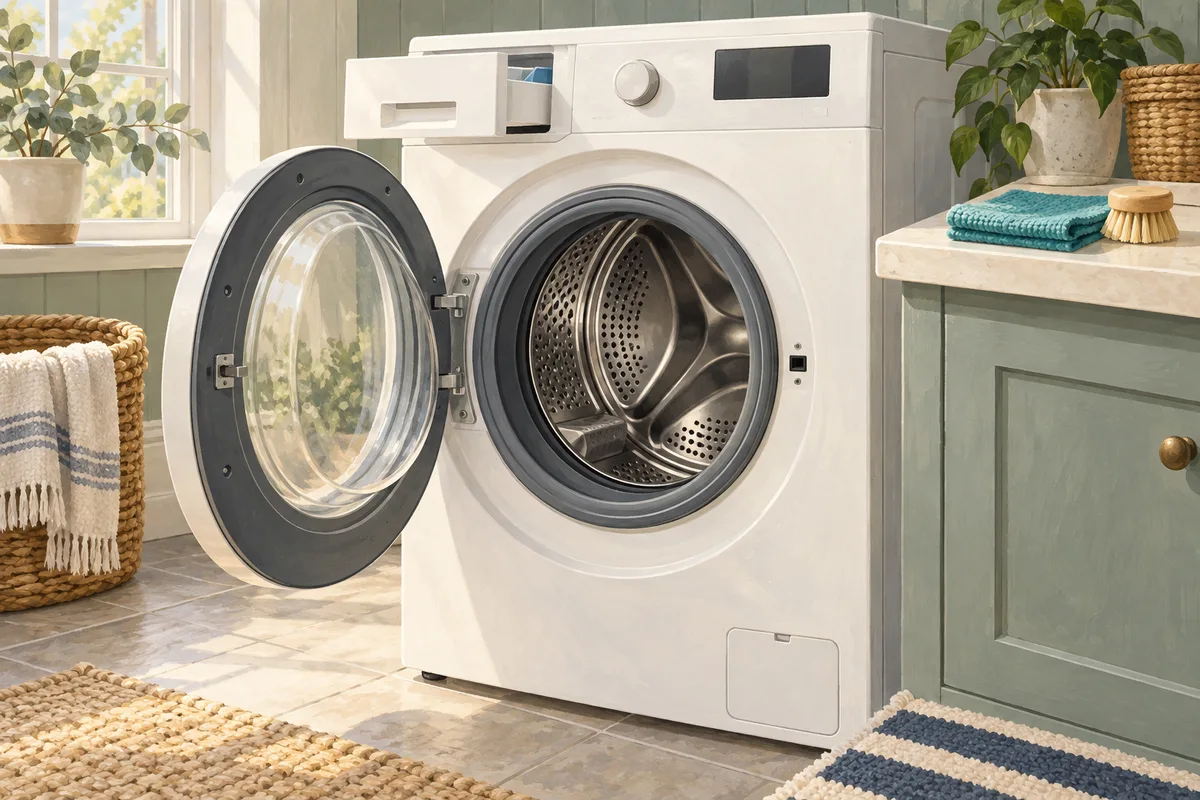
You open the washer expecting a clean drum and get a damp, stale smell instead. Before running another cleaning cycle, check the places that cycle may not clean for you: the rubber door seal, the detergent drawer, and—on models that allow owner access—the drain-pump filter.
A musty smell is a reason to investigate moisture and residue. It does not identify a particular organism or prove that the whole machine needs replacing.
Start with what you can observe
Empty the washer and look for visible residue, trapped items, or water that has not drained. Use the table to choose a starting point; these are clues, not a diagnosis. LG's odor guidance identifies the dispenser, gasket, pump filter, and tub as separate maintenance points.
| What you notice | Where to look | What to do next |
|---|---|---|
| Hair, lint, or damp residue in the rubber folds | Door gasket | Remove loose debris and follow the seal-cleaning instructions. |
| Sticky buildup in the detergent compartments | Dispenser and its recess | Check whether the drawer is removable before cleaning it. |
| Water remains in the drum or draining is slow | Drainage system | Check the manual's drainage guidance; do not simply add more cleaner. |
| Mustiness remains after accessible parts are clean | Tub-clean routine and service guidance | Confirm the correct cycle and product, then reassess. |
| A sewer-like smell is strongest near the standpipe | Household drain or installation | Seek an installation/plumbing assessment rather than repeatedly treating the drum. |
Drain-related odors have other possible causes. LG's Canadian guidance includes clogged household drains and incorrect drain-hose installation. That supports checking beyond the washer; it is not a reason to alter your plumbing based on a smell alone.
Prepare before opening or cleaning anything
Find the model number and its owner-maintenance instructions. Confirm three things: the approved gasket cleaner, the dispenser-removal method, and whether the pump filter is intended to be cleaned by the owner.
- Stop the machine and disconnect power for hands-on maintenance as directed by its manual. Do not reach inside a running washer.
- Let hot wash water cool before draining. Samsung specifies waiting an hour after a hot cycle for its filter procedure; follow your model's instructions.
- Have clean cloths, a soft brush, and any specified water-catching container ready.
- Use only compatible products as labeled. Never mix bleach with vinegar, ammonia, or another cleaner.
Writing down what you have already cleaned makes the next decision easier: gasket, drawer, accessible filter, and tub cycle. Repeating the same cycle is not the same as checking all four.
Clean the accessible parts in a deliberate order
- Check the gasket folds. Gently inspect the rubber lip for loose objects and residue. Wipe with a soft cloth and the method approved for your washer. Do not remove the seal, pull it off its retaining ring, or scrub with an abrasive pad. Whirlpool provides separate seal-care instructions; use those for the relevant appliance rather than borrowing a recipe from another brand.
- Clean the dispenser. If the manual permits removal, release the drawer using its specified latch. Clean the allowed components, rinse as instructed, and dry before reassembly. Do not force a fixed dispenser out. GE notes that detergent and softener residue can accumulate here.
- Check an owner-accessible pump filter when applicable. Follow the exact draining sequence before loosening it. Do not open the filter with a drum full of water. If there is no documented owner-access procedure, stop at the manual or appliance support.
For example, LG's filter procedure starts with an empty, switched-off washer and no visible tub water. A shallow pan catches residual water from the small drain hose before the filter is removed. The hose must not be pulled too far. Debris is removed, then the hose cap and filter are secured again. The access location varies by model.
That example explains why preparation matters; it does not establish the opening direction, cap design, or reassembly position for your machine. Stop if a part will not release normally or will not reseal. Check for leakage when returning the appliance to service according to its manual.
Choose the cleaning cycle and product together
Remove laundry before running the specified washer-cleaning cycle. A product's dose and placement must agree with both its label and the appliance instructions. Do not replace those instructions with “the hottest cycle plus extra detergent.”
The differences between manufacturers matter. Samsung says its routine Self Clean cycle does not need added cleaner, while directing owners with an existing mold smell to additional guidance. Whirlpool describes a cleaner-based routine and explicitly notes that chlorine bleach is not compatible with every washer.
If you already ran a cycle, check its name and what you added. Then check whether the drawer, gasket, and accessible filter still need attention. Avoid layering a second chemical over residue from an earlier treatment.
If the smell remains, change the investigation
Once the approved maintenance routine is complete, reassess the empty washer. Record whether the smell improved, where it remains, and whether draining works normally. This is more useful to a technician than a list of increasingly strong products.
Arrange appliance service for persistent odor after the recommended cleaning process, recurring drainage errors, a damaged seal, or leaks. A burning or electrical smell falls outside this guide: stop using the washer and seek service. Do not dismantle the cabinet, pump, or wiring.
If the odor is concentrated around the household drain, ask a qualified professional to assess that area. Do not seal, shorten, or reposition the drain hose by guesswork.
Build a routine that fits your washer
Use the detergent type and dose specified for the machine and load. Concentrated HE products need attention to the label; GE links excess suds and trapped detergent with odor.
Unload promptly, remove visible debris, and let accessible damp areas dry. Leave the door or drawer ajar only when the manufacturer allows it and children or pets cannot access the appliance. Otherwise, follow its safe drying or ventilation instructions.
Use the appliance's maintenance schedule or reminder instead of a universal calendar. Keep the cleaning cloths ready for the next check: our microfiber washing guide explains how to care for reusable cloths by their labels. It is not a disinfection procedure for contaminated cloths.
Method: manufacturer instructions compared with AI assistance. No independent appliance tests or specialist inspection were performed. See our editorial policy.
For a separate problem with slow drying or the dryer exhaust, see our dryer vent maintenance checks. Washer cleaning does not clear a dryer duct.