
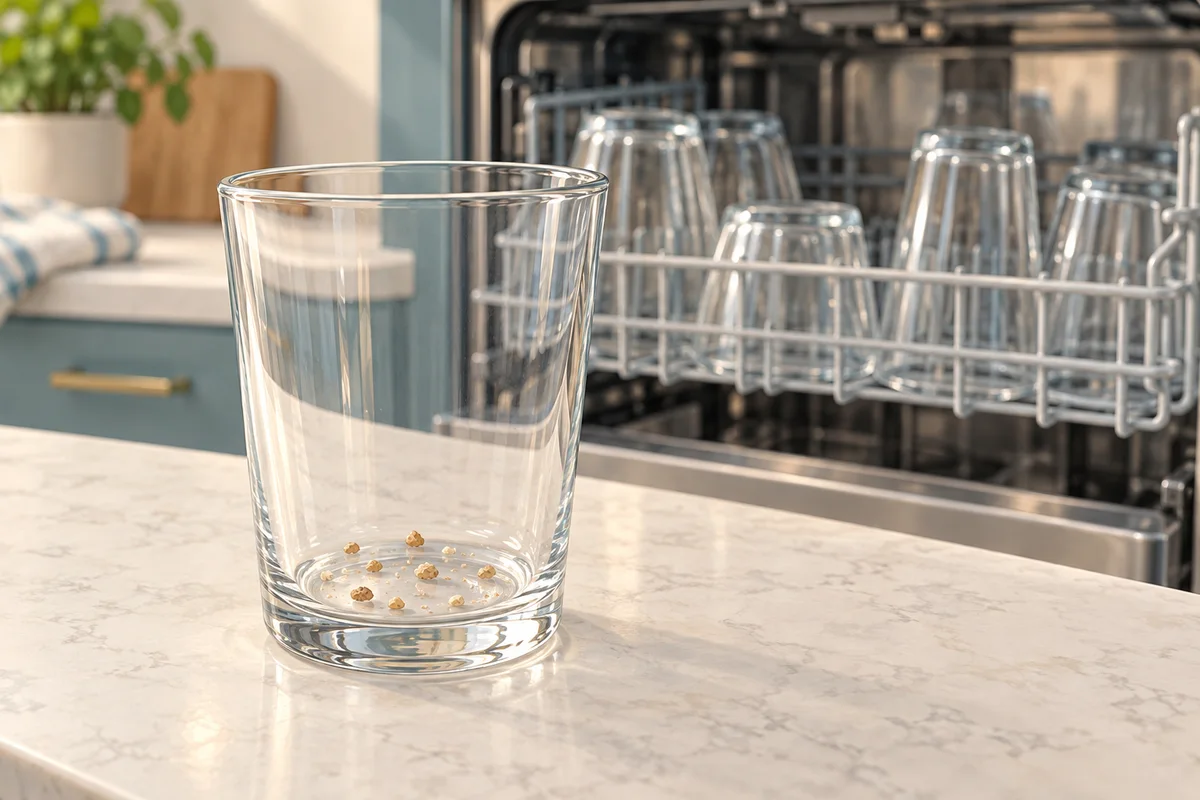
If your dishwasher leaves grit on top-rack glasses, first distinguish loose particles from a fixed cloudy film. Then check glass spacing, spray-arm clearance and the filter-care instructions for your model. Record whether the residue affects one corner, the whole upper rack or both racks before changing anything.
That location pattern helps you organize the checks; it does not identify a failed part. This guide focuses on visible grit in the upper rack and a short observation record you can use if routine corrections do not help.
Dishwasher leaves grit on top rack: map the pattern
Before unloading everything, note where the affected glasses were standing. A quick photo of the stationary, cooled load can preserve the arrangement. There is no need to restart the machine to reproduce the symptom.
- Locate the residue. Record front, back, left or right, and whether it is inside the glass or on its outside base.
- Describe the appearance. Note separate grains, food fragments, a powdery coating or smooth haze.
- Compare both racks. Look at a few other items rather than assuming the clean-looking plates represent the entire load.
- Look for a displaced item. Record any container that moved, filled with water or covered another piece.
- Review recent changes. Note a different detergent, rack adjustment, loading pattern or interrupted cycle.
An observation such as “three glasses in the back-right corner have loose specks” is more useful than “the dishwasher is broken.” Keep the description separate from your suspected cause.
Why is my dishwasher leaving grit on glasses?
More than one condition can produce a gritty result. Maytag lists detergent selection or quantity and filtration restrictions among the possibilities. The symptom alone cannot tell you which applies.
GE also discusses loading, detergent and incoming-water conditions. Those are categories to check against your own manual, not a reason to copy another model's dose, adjust the household water heater or replace a pump.
| Observed pattern | First permitted check | Record afterward |
|---|---|---|
| One glass or one corner | Spacing and nearby items shielding that position | Whether that position is affected again |
| Most of the upper rack | Upper-rack seating, spray clearance and loading diagram | Whether the lower rack is also dirty |
| Particles in both racks | Detergent instructions and user-cleanable filter care | Which routine checks were completed |
| Grit beside a tipped container | Secure, permitted placement of the moving item | Whether it stayed in place and washed clean |
| Smooth cloudiness with no loose particles | The maker's guidance for film or glass damage | Appearance after approved glass care |
This worksheet organizes observations. None of its rows confirms a mechanical diagnosis, and a change in one load does not prove a permanent fix.
Check loading and spray clearance first
With the appliance stopped and safe to access according to its manual, compare the load with the model's diagram. Look for surfaces hidden behind other dishes, glasses packed together and tall pieces protruding from the lower rack.
- Separate items that are nested or touching in a way that shields their interiors.
- Check that rack adjustments are seated and locked as instructed.
- Check spray-arm clearance only in the manner the manual permits.
- Make sure the detergent dispenser is not obstructed by the load.
If lightweight tubs moved during washing, see how to keep plastic containers from flipping. If you heard rhythmic knocking, the guide to dishwasher noise and spray-arm interference helps separate a loading issue from symptoms requiring service.
Check only the filter parts intended for user care
Find the exact model number before following a filter tutorial. Some designs have user-removable filters and others do not. Use the manual's shutdown, cooling, removal, cleaning and refitting procedure; do not assume a similar-looking component twists out.
A useful check ends with the filter correctly refitted, not just visibly cleaner. If it will not seat as described, stop and ask support. Do not run the appliance with a missing or incorrectly installed filter, reach into a pump or remove cabinet panels.
- Keep hands away from suspected glass fragments or sharp debris.
- Do not force a stuck part or use an improvised cleaning tool inside a mechanism.
- Use only maintenance products and methods permitted for the model.
When food odor accompanies the debris, our dishwasher odor guide covers related routine checks. A reduction in odor still does not establish the cause of grit.
Why does my dishwasher leave white residue on glasses?
A white appearance is not enough to identify the material. Powdery particles, water spots and a continuous cloudy surface are different observations. Note whether ordinary, manufacturer-approved hand washing removes loose material before choosing a specialized treatment.
How do you get rid of dishwasher haze on glasses?
First establish whether the glass has a removable deposit or surface damage. Miele distinguishes cloudy deposits from glass corrosion; corrosion is not a residue that stronger cleaning can restore. Ask the glassmaker about compatible care rather than applying an acid or abrasive indiscriminately.
Make one correction, then record the next normal result
If there are no warning signs and the manual permits continued use, make one clear loading or care correction before the next normal load. Record the position, residue type, change and result. Do not repeatedly run cycles solely to chase a diagnosis.
If grit persists, give support that record, the model number, cycle and detergent details. Stop earlier for a leak, burning smell, severe grinding, visible damage or an error requiring service. The goal is a useful next decision, not a guessed replacement part.
Method: manufacturer guidance synthesized with AI assistance. The observation worksheet is an editorial aid, not a completed appliance test or diagnostic guarantee. The image is conceptual.